Setting Up Your RV: Develop a Routine That Works for You
I’ve been seeing quite a few posts online lately from people looking for checklists for setting up their RV at a campsite. I’m assuming many of them are new RV owners trying to make sure they don’t forget something important.
I’ve covered things to check before taking a trip in previous posts, but I thought it might be helpful to put together a basic campsite setup routine for someone setting up their camper for the first time.
I need to start with an important point: there really isn’t one checklist that works for every RV. Motorhomes, travel trailers and fifth wheels are different, and even two similar fifth wheels can have different equipment and procedures.
So don’t consider this the RV setup checklist. This is simply what Pat and I do when we arrive at a campground with our fifth wheel. Use what applies to you, change what doesn’t, and develop a routine specifically for your rig.
Before We Back Into the Site
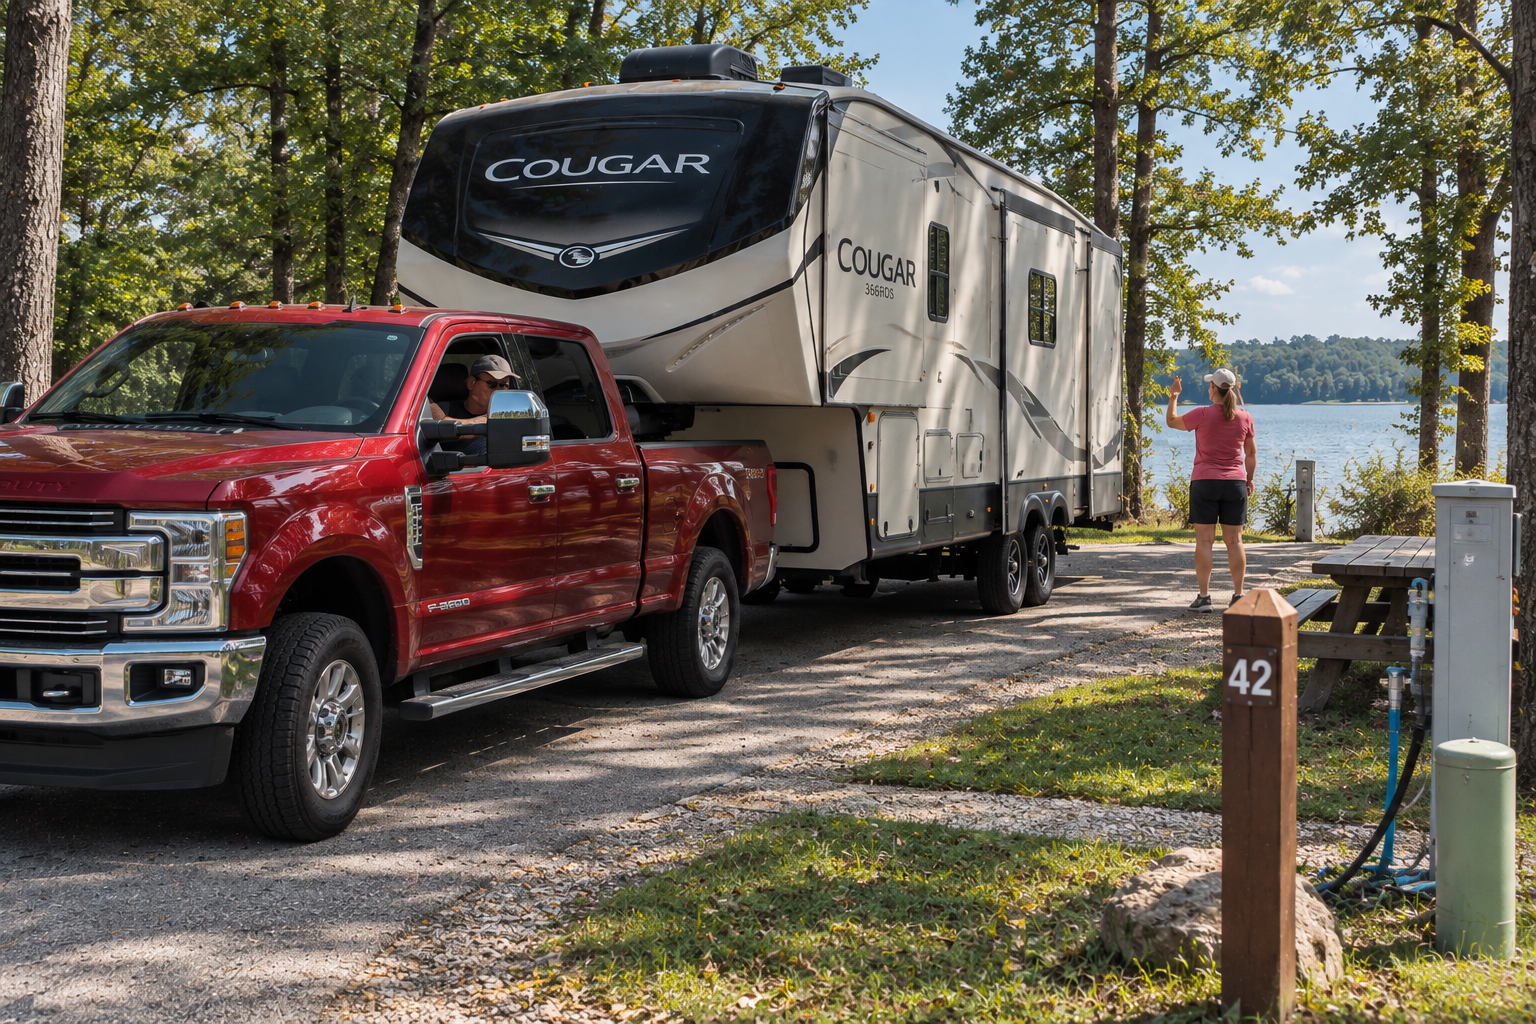
As we approach our site, we’re already looking at where the electrical pedestal, sewer connection and water hookup are located. We’re also looking for trees, posts and anything else we need to avoid while backing in.
Before backing, we stop, get out and discuss where we want the rig to sit.
Pat and I use our phones to communicate while I’m backing and she’s guiding me. It works much better for us than trying to yell over the sound of a diesel engine.
If you haven’t practiced backing with the person who will normally be guiding you, I strongly recommend doing it before your first campground experience. Find a large empty parking lot and practice.
More importantly, agree on the terminology you’re going to use. Something as simple as “go right” can mean different things depending on whether you’re talking about the truck, trailer, front, rear or which direction the spotter is facing.
We use terms such as driver’s side and door side. Use whatever terminology makes sense to the two of you, but agree on it ahead of time and practice until you’re both comfortable with the process.
Once We’re in Position
Once the fifth wheel is where we want it, we confirm that all of the slides can extend without hitting the utility pedestal, trees or anything else.
Know how far your slides extend because they’re not all the same. We use 36 inches as our guide, and yes, we carry a tape measure in the truck specifically for checking slide clearance.
Then our routine is:
- Chock the tires.
- Lower the truck’s tailgate.
- Place pads beneath the front landing gear and extend the landing gear to about two inches above the pads.
- Extend the front landing gear until the weight is off the hitch. I watch the truck’s suspension. When the truck stops rising, I know the weight is off the hitch and I stop.
- Unplug the trailer’s electrical connection and disconnect the breakaway cable.
- Check the wheel chocks again before releasing the hitch.
- Release the fifth-wheel hitch.
- Slowly pull the truck clear of the trailer.
That second check of the wheel chocks is intentional. There are certain things worth checking twice.
Leveling and Connecting Power
Once the truck is clear, I adjust the front landing gear until the trailer looks reasonably level from front to rear. It doesn’t need to be perfect. Close is good enough because the Auto Level system will take it from there.
I start Auto Level and let the system do its job.
While the trailer is leveling, we start connecting utilities.
We make sure the breakers on the campground pedestal are OFF before connecting anything. We plug our surge protector into the pedestal and connect the RV power cord to the surge protector. We then turn on the pedestal breakers and wait for the surge protector to complete its checks.
Our surge protector checks the electrical supply before allowing power to reach the RV. Your equipment may operate differently, so know how yours works.
If ours indicates a fault, we shut off the breakers, disconnect and try the process again. If it still detects a problem, we contact campground management rather than simply plugging the RV directly into the pedestal.
If everything checks out, the surge protector allows power to the rig.
Getting the RV Opened Up
Before extending any slides, we go inside and look around.
Things can and do move while traveling. We make sure nothing has shifted into the path of a slide and that there isn’t anything else that could interfere with one opening.
Then we extend the slides. One of us watches from inside while the other watches outside. We’re looking and listening for anything unusual rather than simply holding the switch until the slide stops.
Once the slides are out, we continue setting up:
- Connect our water-pressure regulator, filter and drinking-water hose.
- Turn on the water and bleed the air from the hot and cold water lines.
- Turn on the air conditioner or ventilation fan to start circulating fresh air.
- Start the water heater.
- Unpack the items inside that were secured or stored for travel.
- Install the additional rear stabilizer we use on our fifth wheel.
- Connect the sewer hose in preparation for dumping the tanks later. We don’t open the tank valves.
And finally, perhaps the most important step:
Sit down with your spouse and enjoy your preferred beverage.
We’re camping.
The Routine Is More Important Than My Checklist
Again, this is our procedure. Your RV may require additional steps, fewer steps or a completely different order.
The important thing isn’t following our checklist. It’s developing your own routine and doing it the same way every time.
Pat and I both know the steps involved in setting up and tearing down our fifth wheel. We also check each other’s work. That’s not because we don’t trust one another. It’s because we’re human, and it’s pretty easy to miss something when you’re tired, distracted or anxious to get done with the setup.
From the time we arrive at our site until we’re sitting down with a drink, our setup usually takes around 30 minutes.
We’re not racing anybody. That’s simply what happens after you’ve done essentially the same procedure enough times.
If You’re New to RVing
Read the manuals that came with your RV and its equipment.
If you bought a used RV and didn’t receive the manuals, start looking online. There’s an incredible amount of information available for most RVs and the equipment installed in them. Find the manuals, download them and save them somewhere you can easily retrieve them when you need them.
Talk to experienced RV friends. Watch YouTube videos. Read RV forums and groups.
But use some discretion with that information.
Someone posting an RV video on YouTube doesn’t automatically make them an expert any more than my writing this article makes me one. I’m simply telling you what we do and what has worked for us.
Our routine has helped us avoid damaging the rig, wasting time and, perhaps just as importantly, getting on each other’s nerves while backing into a campsite.
One other lesson we’ve learned: when someone comes over while we’re setting up and asks if they can help, we politely decline.
We appreciate the offer, but we have a routine. Introducing another person into the middle of it usually creates confusion, interrupts the process and actually slows us down.
We’ll visit after we’re set up.
Make Your Own Checklist
If you’re someone who likes having an actual checklist, you don’t necessarily need to buy an RV checklist app.
Open the Notes app on your phone and make your own.
Your phone is almost always with you. You can arrange the checklist in exactly the order you perform the tasks, and when you change equipment or discover something you’ve forgotten, you can edit the list immediately.
A pre-made checklist will probably need to be modified for your particular RV anyway.
So start with a basic list, customize it for your rig and refine it as you gain experience.
Eventually, you’ll probably find that you don’t need to look at it very often.
But even after years of RVing, there’s nothing wrong with having it there when you do.