RV Batteries: Don’t Wait Until They Fail to Pay Attention
RV batteries. They’re one of those things we often forget about until they fail. Then we’re scrambling to figure out what went wrong and how to get things working again.
Take our rig, a Keystone Cougar fifth wheel. If the batteries are weak or dead, our slides and leveling jacks may not operate properly. That’s a problem when you’re trying to get your RV ready for a trip or pack up to head home.
You might think the solution is as simple as plugging into shore power or connecting the RV to your tow vehicle. While either can provide charging power, that doesn’t necessarily mean everything will immediately start working. Depending on your RV’s electrical system and the condition of your batteries, you may need to let them charge before operating equipment that requires a substantial amount of 12-volt power.
And if a battery has failed internally, charging it isn’t going to fix the problem. You’ll probably be replacing it.
Keeping Your RV Batteries Healthy
If you’re a full-time RVer or use your rig throughout the year, maintaining your batteries can be a little easier. You’re regularly using the RV, and chances are the batteries are being charged through shore power, your tow vehicle, solar panels, or some combination of those sources.
Keeping battery terminals clean, checking connections, and making sure your charging system is operating properly will go a long way toward extending battery life.
If you’re parking your RV for an extended period without electrical hookups, disconnecting the batteries can help prevent them from slowly discharging. Keep in mind that some RV battery disconnect switches don’t eliminate every electrical draw. Certain safety devices, electronics, or other circuits may remain connected.
Even a small electrical draw can eventually drain a battery if it’s left sitting long enough.
And that’s where we learned a lesson.
Our Experience With Winter Storage
Long-term storage, similar to what we do when we’re not snowbirding, is a different story.
Our first winter with the Cougar, we were still pretty new to RV ownership. We left the batteries installed for the winter and didn’t give them much thought.
Thankfully, when spring arrived, they still had enough charge to operate the leveling jacks so we could get the RV hooked up and bring it home.
Our second winter didn’t turn out nearly as well.
When we went to retrieve the RV in the spring, the batteries were dead. We tried charging them, but they wouldn’t recover. We ended up replacing them.
That was an expensive lesson, and one we haven’t forgotten.
We learned that you can’t simply leave batteries sitting for months, especially through a Minnesota winter, and expect them to be ready when you return.
To be clear, cold weather alone doesn’t necessarily damage a healthy, fully charged lead-acid battery. The bigger problem is allowing it to discharge. A discharged battery is much more susceptible to freezing, and prolonged discharge can permanently damage it. You can see the effects of the cold on batteries when starting your car after it has been outside in very cold weather, your car normally starts but the cranking is noticably slower
What We Do Now
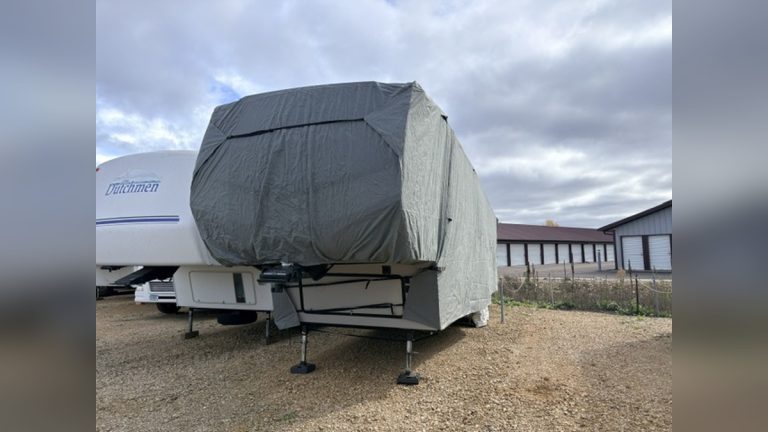
Our storage facility doesn’t have electrical hookups, so leaving the Cougar connected to a battery maintainer isn’t an option.
While removing the batteries from our rig is a bit of a chore, that’s what we do.
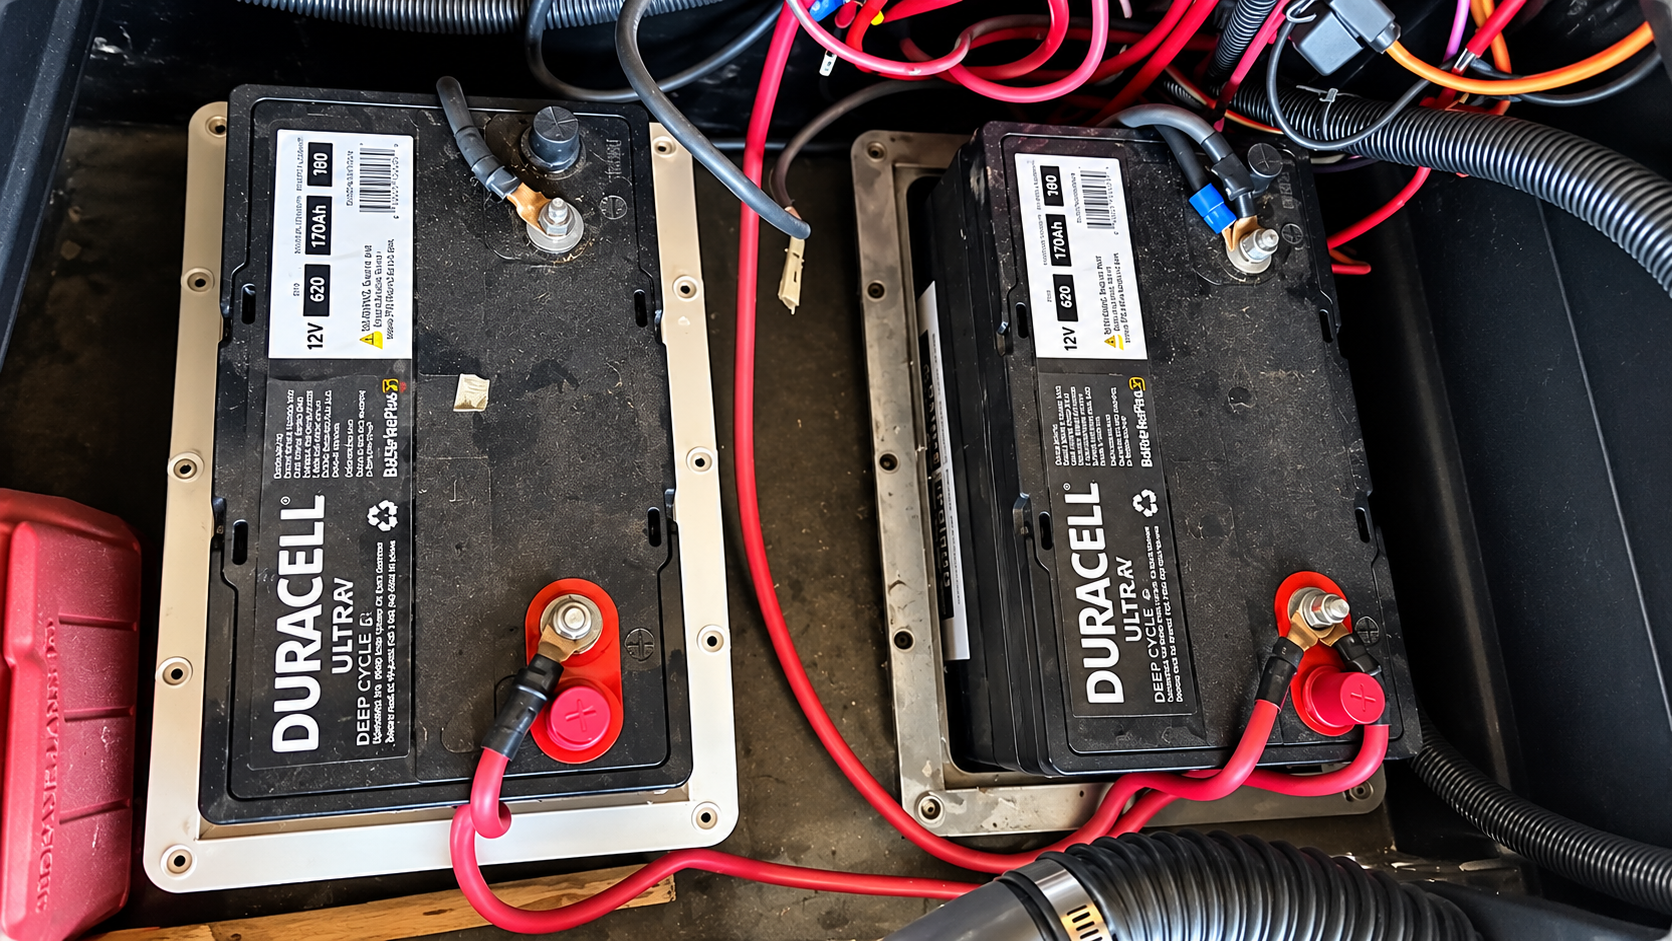
Each fall, we remove them and bring them home. I connect them to a battery maintainer for the winter months and reinstall them when we’re getting close to our first camping trip of the season.
It’s an extra step in our winterization process, but after replacing batteries that didn’t survive storage, I consider it time well spent.
If you’re using a maintainer, make sure it’s designed for your particular battery type. A modern automatic maintainer that switches to a maintenance or float mode is preferable to an older trickle charger that continuously supplies current and could overcharge the battery.
And remember, if you’re removing batteries, take a picture of the connections before disconnecting anything. It’s a simple precaution that can save a lot of head-scratching when spring arrives.
Understanding RV Battery Voltage
Whatever your situation, it’s worth keeping an eye on your batteries.
Most RVs have some type of battery indicator on the control panel. Unfortunately, those indicators don’t always tell you much beyond whether the battery is generally charged or discharged.
An inexpensive digital multimeter provides much better information.
For a typical 12-volt flooded lead-acid RV battery, here are some approximate voltage readings:
| Battery condition | Resting voltage |
|---|---|
| Fully charged | 12.6–12.8 volts |
| Approximately 75% charged | 12.4 volts |
| Approximately 50% charged | 12.2 volts |
| Approximately 25% charged | 12.0 volts |
| Nearly discharged | 11.9 volts or less |
These readings are approximate and apply to batteries that have been resting without charging or significant electrical loads for several hours, preferably at moderate temperatures.
A battery reading 12.2 volts is approximately 50% charged, or 50% discharged. For traditional lead-acid batteries, repeatedly discharging them deeply can shorten their lifespan.
Ideally, I like to see our batteries above 12.5 volts when they’re resting.
One important distinction: These voltage readings do not apply in the same way to lithium batteries. Lithium batteries maintain a relatively steady voltage through much of their discharge cycle, so voltage alone isn’t a reliable way to determine how much charge remains.
Are Your Batteries Bad, or Is Your RV Not Charging Them?
This is probably one of the most useful things an RV owner can learn to check.
Before spending money replacing batteries, take a few minutes to determine whether the problem is actually the batteries or the RV’s charging system.
You don’t need expensive equipment. A basic digital multimeter will do the job.
Step 1: Check the Battery Voltage
Start with your RV disconnected from shore power. Make sure the generator isn’t running and that any solar charging system is disabled for the test.
Turn off as many 12-volt electrical loads as possible.
Set your multimeter to DC volts and place the red probe on the battery’s positive terminal and the black probe on the negative terminal.
Record the voltage.
Let’s say your battery reads 12.2 volts. That tells you it’s approximately 50% charged if it’s a traditional lead-acid battery that has been resting.
That doesn’t mean the battery is bad. It may simply need charging.
Step 2: Connect Shore Power
Now plug your RV into shore power and check the voltage again.
With a properly functioning converter and charging circuit, you should normally see the voltage increase.
Depending on the converter and its charging stage, you might see something in the neighborhood of 13.2 to 14.6 volts.
For example:
- Before connecting shore power: 12.2 volts.
- After connecting shore power: 13.6 volts.
That’s a good indication that your RV’s converter is supplying charging voltage to the batteries.
If the voltage stays at 12.2 volts, something may be preventing the batteries from receiving a charge.
It could be a converter problem, blown fuse, battery disconnect switch, loose connection, or another issue in the charging circuit.
Don’t immediately assume the batteries are bad.
Step 3: See Whether the Batteries Are Accepting a Charge
If the voltage increased when you connected shore power, leave the RV plugged in long enough to charge the batteries.
An hour might be enough to see some improvement, but a significantly discharged battery can take many hours to recharge fully.
Disconnect shore power, turn off the electrical loads, and let the batteries rest before checking them again.
If the voltage is higher than your original reading, that’s encouraging.
However, a battery can show a good voltage immediately after charging and still be in poor condition. Batteries can retain a temporary surface charge that makes the voltage look better than it really is.
The more meaningful test is whether they maintain their charge after resting and whether they can supply power under a load.
Step 4: Can the Batteries Hold a Charge?
This is where you start separating a weak battery from a charging problem.
Once the batteries have been fully charged, disconnect the charging source and allow them to rest for several hours, preferably overnight.
Check the voltage again.
Then turn on some 12-volt lights or another moderate electrical load and watch what happens.
If the voltage drops unusually fast, or the battery loses substantial charge while disconnected and sitting unused, you may have a failing battery.
Keep in mind that voltage alone can’t tell you everything about battery health.
A battery can show 12.7 volts and still have very little usable capacity left. A proper battery load or capacity test is the best way to determine whether it needs replacement.
Many battery retailers and service shops can perform battery testing, although a deep-cycle RV battery should ideally be evaluated using a test appropriate for that battery type.
What If the Charging System Isn’t Working?
If connecting shore power doesn’t increase the battery voltage, there are several things worth checking before replacing the converter.
Start with the simple items.
- Battery disconnect switch: Make sure it’s in the correct position for charging.
- Converter circuit breaker: Verify the converter is receiving electrical power.
- Converter fuses: Check for blown fuses, including any reverse-polarity protection fuses.
- Battery connections: Look for loose terminals, corrosion, or damaged cables.
- Inline fuses or circuit breakers: Some RVs have additional protection between the converter and batteries.
If the converter is producing the proper DC voltage but that voltage isn’t reaching the batteries, the problem may be somewhere in the wiring or protection devices.
If you’re not comfortable working around electrical systems, this is a good time to have an RV technician take a look.
Not All RV Batteries Are the Same
RV batteries have changed considerably over the years, and it’s worth understanding the differences.
Flooded lead-acid batteries are the traditional batteries found in many RVs. They’re generally less expensive but require some maintenance, including checking electrolyte levels when applicable. They also need to be kept charged to prevent damage from sulfation.
AGM batteries are another type of lead-acid battery. They’re sealed, require less routine maintenance, and don’t need water added. However, they can still be damaged by deep discharge or improper charging.
Lithium batteries, particularly lithium iron phosphate (LiFePO4), have become increasingly popular. They offer more usable capacity for their size and weight, generally tolerate deeper discharge, and often last considerably longer.
But lithium batteries also have different charging requirements. Many cannot safely be charged below freezing unless they have a suitable low-temperature charging protection system or heating capability.
Before switching battery types, make sure your RV’s converter and other charging equipment are compatible.
A Few Battery Maintenance Tips
Regardless of which type of battery you have, a little preventive maintenance can save a lot of frustration.
- Check battery voltage periodically, especially before and after extended storage.
- Keep battery terminals and cable connections clean and secure.
- Use a charger or maintainer appropriate for your battery chemistry.
- Avoid leaving lead-acid batteries deeply discharged.
- Check electrolyte levels on serviceable flooded batteries, following the manufacturer’s instructions.
- Make sure your batteries are properly secured and the battery compartment is suitable for their type.
- If you have multiple batteries, remember that one failing battery can affect the performance of the entire bank.
- During long-term storage, periodically verify that the batteries are maintaining their charge, even if they’re connected to a maintainer.
One other thing worth mentioning: If you’re working around batteries, be careful. Lead-acid batteries can release explosive hydrogen gas during charging, and a short circuit across battery terminals can cause serious injury. Avoid sparks, use eye protection, and disconnect charging sources before removing cables.
What About Leaving Batteries in the RV Over Winter?
I recommend removing your batteries for long-term winter storage if your RV is stored without electrical hookups, particularly in colder climates like Minnesota.
That doesn’t mean everyone needs to remove them.
A healthy, fully charged lead-acid battery can remain in an RV through freezing weather if it’s properly disconnected, protected from unwanted electrical draws, and periodically monitored.
But if you don’t have access to the RV or a way to maintain the batteries, removing them and storing them somewhere you can monitor and charge them may be the safer choice.
You don’t necessarily need to keep lead-acid batteries in a heated location, either. A cool, dry, well-ventilated area can be suitable, provided the batteries remain charged and are protected from physical damage.
For lithium batteries, follow the manufacturer’s storage instructions, including the recommended state of charge and temperature limits.
Final Thoughts
RV batteries aren’t particularly exciting, and most of us probably don’t give them much thought until something stops working.
I know we didn’t when we first purchased our Cougar.
But after having to replace batteries that didn’t survive winter storage, we changed our routine.
Now removing and maintaining them is simply part of our annual winterization process.
The important thing is to pay attention before there’s a problem.
If your battery voltage is dropping more than normal, take a few minutes to find out why. Is the battery getting old? Is something drawing power while the RV is parked? Is the converter actually charging the batteries?
A $20 multimeter and a few minutes of testing may save you the cost of replacing perfectly good batteries or discovering that your slides and leveling jacks won’t work when you’re ready to head out.
And that’s a much better time to discover a problem than when you’re standing in a campground trying to get everything packed up for the trip home.
Enjoy Rick's Ramblings?
If you found this post helpful or interesting, subscribe to receive an email when new posts are published.