
Spring, Time to Prepare Your RV
Dewinterizing Your RV Water System
Spring is finally here, and you’re probably anxious to head out on your first camping trip of the season. Before you do, it’s time to dewinterize your RV’s water system.
The process is straightforward and doesn’t take long.
1. Return the Water System to Normal
If you bypassed your water heater when you winterized the RV, return the bypass valves to the normal operating position.
If your RV has a winterizing valve used to draw antifreeze from the bottles, make sure it’s turned off and set back to normal operation.
2. Drain the RV Antifreeze
Open the drain valve on your fresh water tank and drain any RV antifreeze remaining in the system.
3. Inspect or Replace the Water Heater Anode Rod
If your water heater uses an anode rod, inspect it before the season begins.
Many anode rods will last two or more seasons, depending on how much you camp and the quality of the water you’ve used. If it’s significantly worn, replace it. Many RV owners simply replace it every spring for peace of mind.
If you’re a full-time RVer, check it periodically throughout the year rather than waiting until the next spring.
4. Connect Your Fresh Water
Connect your fresh water hose to the campground or home water supply.
Always use:
- A pressure regulator at the faucet to protect your RV’s plumbing.
- A quality water filter to improve water quality and help protect your plumbing fixtures.
5. Flush the Plumbing System
Turn on the water supply and go through the RV, opening each faucet one at a time.
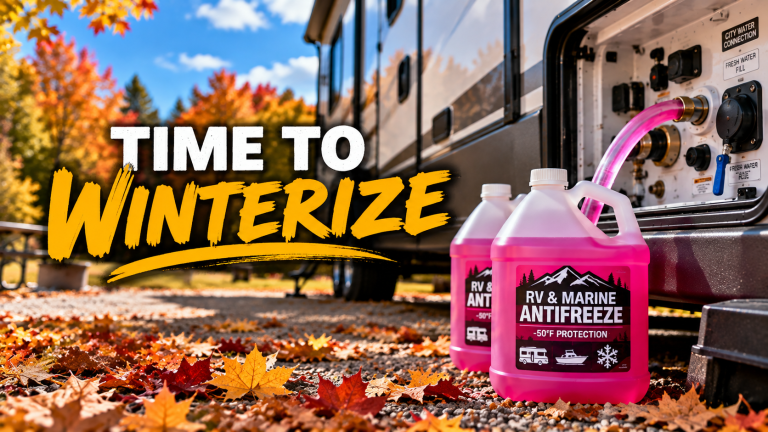
Run both the hot and cold sides until all of the pink RV antifreeze has been flushed from the lines.
Don’t forget to flush:
- Kitchen sink
- Bathroom sink
- Shower
- Toilet
- Outside shower or spray port
- Any other exterior water connections
6. Flush the Fresh Water Tank
Run fresh water through your fresh water tank to remove any remaining antifreeze, then close the drain valve.
One More Step
Before your first trip, it’s also a good idea to sanitize your fresh water system if it has been sitting for several months. A simple bleach solution and a thorough rinse will help ensure your water system is clean and ready for the camping season.
That’s it!
With your water system flushed, the valves returned to their normal positions, and your water heater ready to go, you’re one step closer to another great camping season. Now it’s time to finish the rest of your spring inspection, pack your gear, and get out on the road.
Enjoy Rick's Ramblings?
If you found this post helpful or interesting, subscribe to receive an email when new posts are published.